
As the world grapples with the growing threat of climate change, renewable energy sources like solar power have gained significant attention and support. In an effort to encourage the adoption of clean energy technologies, governments around the world have implemented various incentives and tax credits. In the United States, the 2023 Solar Tax Credit is one such initiative aimed at promoting the use of solar energy. For those interested in taking advantage of this incentive, it’s essential to understand the eligibility criteria and application process. To get started, you may need to create a 1040 form online to claim the Solar Tax Credit. This article explores what the 2023 Solar Tax Credit is, how it works, and its potential impact on the renewable energy landscape.
Solar Energy
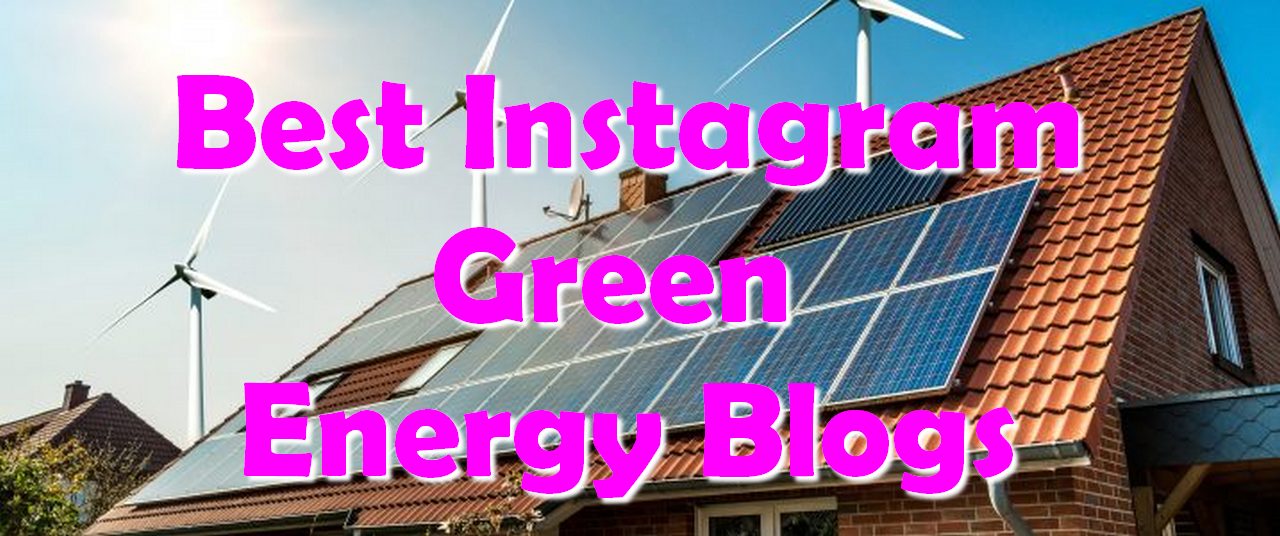
Best Instagram Green Energy Blogs
The world changes to green and renewable energy, especially after the increasing threat of warmer ocean waters and the rapid meltdown of glaciers up north due to global warming. Energy is a necessity nowadays, whether industrial, commercial, or used for residential purposes. The trend towards green energy has increased as the world is being more optimistic towards a sustainable environmental footprint for the betterment of our future generations. That’s why more and more people follow green energy pages and activists. By the way, if you want to learn more about how to increase your Instagram followers, visit https://www.simplygram.com/how-to-get-more-followers-on-instagram/ and maybe you’ll start a new green energy blog someday.
Like never before, green energy blogs are one of the most trending accounts on Instagram as they share knowledge about ways to save money by using clean energy compared to conventional energy needs. Hydropower electricity is now being replaced by solar, and wind energy as more and more people are willing to go off the grid and save their monthly electricity bills.
Social media, especially Instagram, is a trendsetter. Evermore, people are sharing their experiences when they switch to green energy inspiring many others to follow. Going off the grid breaks the chain of dependence on energy needs and provides independence as green energy provides self-sustainable energy that is viable and convenient for consumers.
Can you build your solar panels?

The exponential rise in the use of technology on a global scale is making way for numerous innovations. These innovations are going to change the way we do things and perceive things. Also, they have the potential to bring about many useful changes. One such technology is the use of solar panels to make electricity. Solar panels are getting popular all across the globe. It is because they are highly sustainable in operations and produce electricity enough to power big projects. The good news is that you can make your solar panels to create heat and save costs while benefiting the environment as well. If this sounds like something you are interested in, you are in the right place. We will tell you all about how you can make your solar panels easily.
Three Main Types of Solar Energy
The rise in technology is paving the path of many new technologies that are making lives better. Such techniques are rapidly taking over the world. One such technology is solar energy. It is the process of producing electricity out of sunlight. Solar energy can be divided into many parts, but the three main types of solar energy that are most used are as follows:
Photovoltaic power
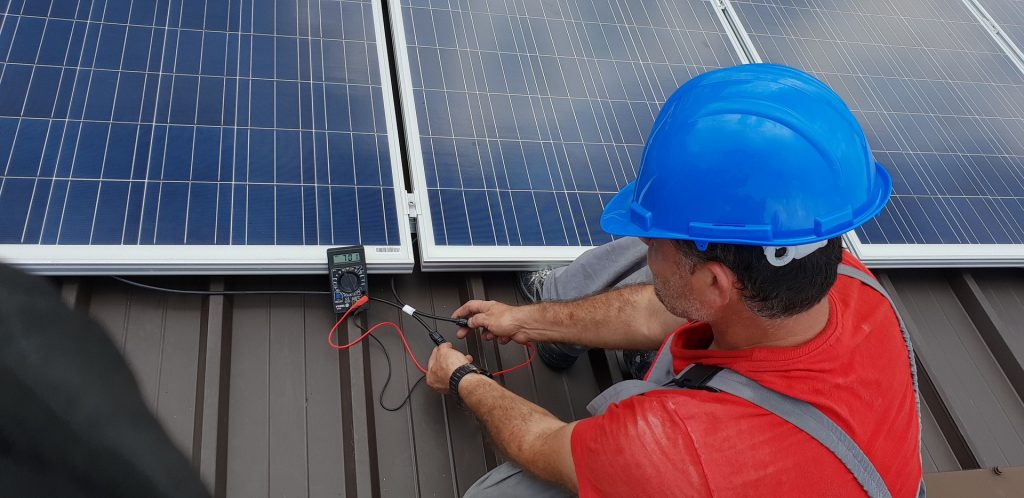
This energy is created by photovoltaic panels that convert sunlight into electricity. This process is called photovoltaic because of the use of photovoltaic panels as collectors of sunlight. The process starts when the semiconductor material on these panels absorbs sunlight, which starts a reaction that generates electricity. In scientific terms, the solar energy received from sunlight breaks the electrons loose from their atoms, which makes them flow through the semiconductor material to produce electricity. In recent times PV cells have captured the market for small scale application of generating electricity. This method is widespread in residential areas. By using the photoelectric effect, the solar cell directly converts sunlight into electricity.
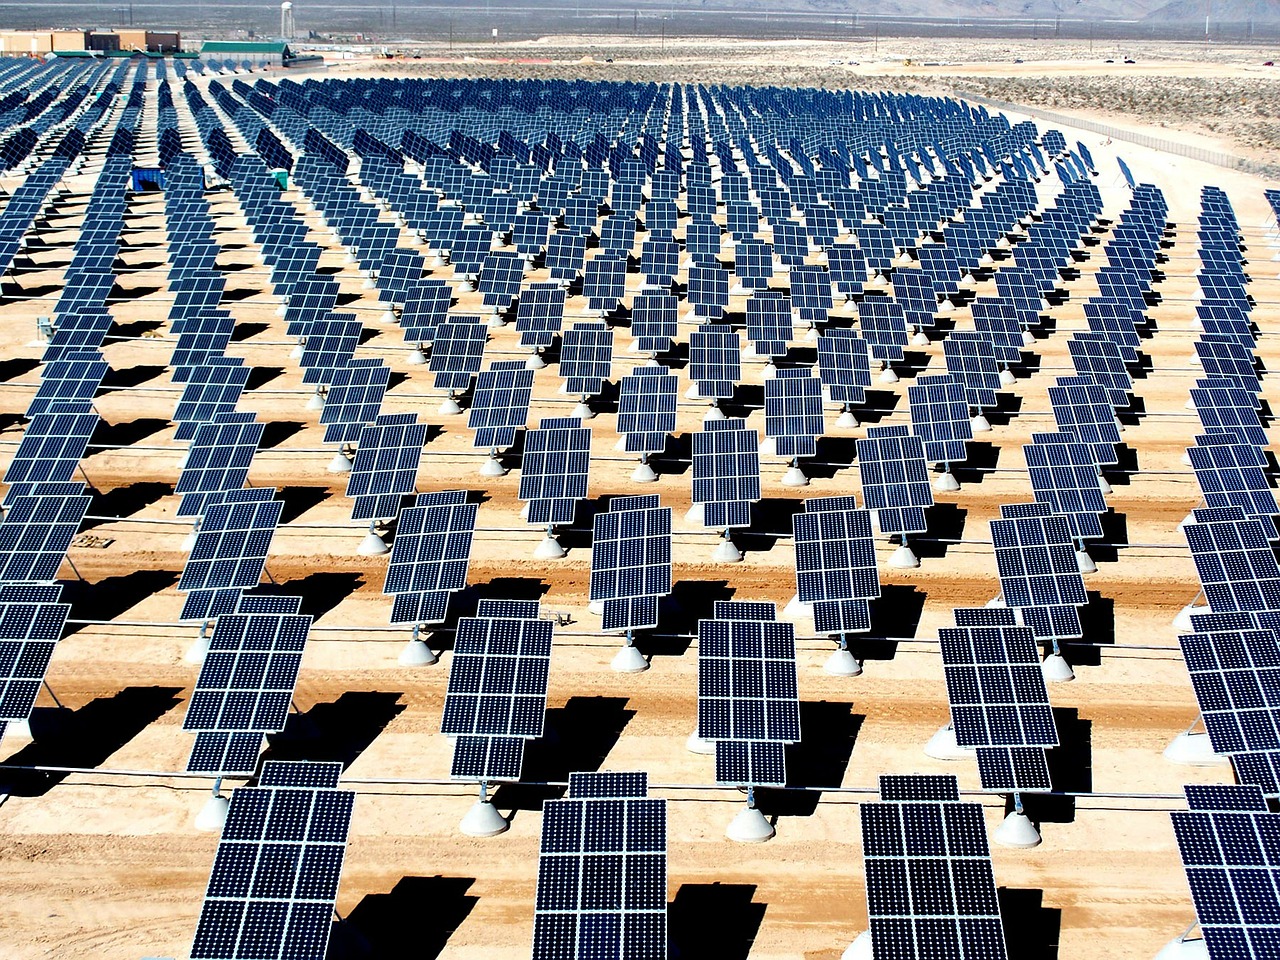
Concentrated Solar Energy
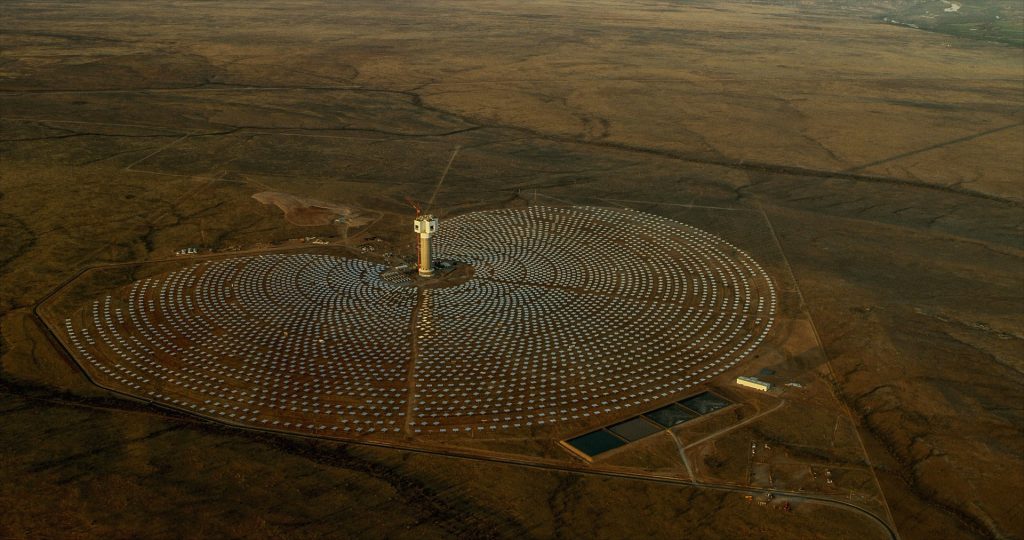
This solar energy type uses mirrors to reflect a large amount of solar energy and focus it into a beam. That beam of light aims at a container or a large area is having water in it. The heat of the laser boils the water. The steam from the boiling water rotates the turbine, which activates the generator, which creates electricity. This process is currently being used on a large scale to produce massive amounts of power for a city or in some cases, for a whole state. The area in which they are set up is also called Solar parks or Solar Farms due to their colossal size and significant electricity generations. This method is being adopted by both developed and underdeveloped countries to meet their electricity needs
Solar thermal power
Solar thermal power or solar water heating type uses a thermal power collector to collect sunlight, small pipes are installed in these collectors. The energy the collectors received from the sun is stored in these collectors making those pipes, established in the collectors extremely hot. When water passes through these pipes the water heats up. This method is popular in those areas where they need hot water without using any other resource.
Conclusion
As the use of electricity is increasing day by day, solar energy is the need of the hour because it uses the most abundant source of energy, which is sunlight. This source of energy is readily available. Solar energy is used in other ways that can also help in managing sun heat in summers to make better homes for us to live in; Moreover, it can store sun heat to be used to heat water and control an inner building climate. The types of solar energy described above have massive potential in helping us in fulfilling our energy requirements. These methods are being used for residential and commercial purposes, which is a clear indicator of their potential.
What Is Solar Energy in Simple Words?

Sun is the most significant source of energy in the world from the dawn of time. The heat and light received from the sun consist of electromagnetic radiations, including heat light and radio waves. All forms of energy (except Nuclear) ultimately comes from the sun. It has been an integral part of our Eco-system, from helping plants in making their food to melting glaciers and fulfilling other nature’s requirements. With time man has found different ways to use this abundant source of power to fulfill its own needs. In ancient times people use magnifying glasses to create a beam that could make the wood catch fire. Still, with the passage of time and innovation in technology, the man produced machines that could convert this power of sunlight into other forms of energy.
Solar energy means the energy received directly or indirectly from the sun. The process of converting sunlight into useable energy like electricity is called the solar energy process. With the invention of the solar cell, which converts direct sunlight into electricity, solar energy finds a way into our daily life. These cells are consist of p-type silicon crystal and n-type ( semiconductor). These solar cells are used to power electronic devices such as pocket calculators. Solar energy has a vast scope; it is not only used for making electricity also for heating water, making buildings withstand the heat of sunlight. It has enormous potential because the majority of our population lives in those areas sunlight the majority of their time.

The solar energy process
To further understand the solar energy process, here is some basic example light radiation causes electrons to be released and creates a potential difference so current can flow between electrodes connected to the two crystals. All wavelengths are shorter than one micrometer can produce electrical energy. Cells convert c.10% sunlight into electrical energy. Another process of solar energy starts when a collector in the solar panel collects solar energy from the sun stores it into its backup after that a chemical reaction in the machine attached with the backup converts this stored power into electricity. In another case, the heat from the sunlight heats the pipes installed on the rooftop. After that water crosses from those pipes, the heat of the pipes changes the temperature of the water, making it hotter.
Conclusion
In a broader perspective, solar energy covers all aspects of using sunlight in different forms of applications using photovoltaic(PV) cells, solar heating, solar thermal energy, and artificial photosynthesize.
In other words, Solar energy includes all the methods from which man can harness the power of sunlight. The technology is contently evolving, not only increasing our energy needs but also introducing new ways to use solar energy. In the present time, techniques using solar energy are becoming an essential part of catering to our energy needs; many countries, both developed or underdeveloped, are shifting towards solar energy. The latest setups of solar energy power generation can provide electricity to a small city.